Mac Os Vdi For Virtualbox
You might know that MacOS is in high demand and legions of users using Mac so due to that you are trying to get the MacOS on your system. therefore, in this article, I will show you how to download macOS Mojave Vmware & Virtualbox Image. as you know we have the latest version of MacOS Mojave and here I will give you the latest version of Mojave. moreover, you will learn about the new features of MacOS Mojave and you will get the Mojave VMDK latest version. so, remember for Vmware you should download the VMware file and for VirtualBox, you should download the VirtualBox image file. ok, let’s get a start
Table of Contents
MacOS, the operating system previously known as Mac OS X, is beautiful, stable, and typically attached to a $1000+ MacBook / iMac. If we want to run macOS on a Windows PC, without the very particular hardware required for Hackintosh, a Mac OS X virtual machine is the next best thing. Importing a VDI in VirtualBox Guest Author If you're used to be a VMware user and try to switch to the Open-Source side of the Force by using VirtualBox, you may run into difficulties if you try to import an existing VDI file into VirtualBox.
New Features
- New added of MacOS Mojave Dark Mode, that while you are installing the operating system at that time you can choose. Therefore, if you want to go with light mode then you can.
- Dynamic Desktop. It is with a dark mode that the desktop preferences are fixed with the light mode, and your wallpaper on the desktop is positioned.
- Desktop Stacks, you can store different kinds of a folder with the same name on MacOS Mojave desktop.
- Screen Markups, before you needed to separate the app on the screenshot, but now you can sketch, draw, add text, shapes, and crop in which manner you want you can do it.
- Screen Utility, MacOS Mojave also added a screenshot taskbar, where you can easily take a screenshot.
- Continuity Camera, Now directly you can upload pictures from iPhone iPad, or any other Apple product.
- iOS Apps on Mac, After upgrading MacOS Mojave now you can use the iOS Apps on your operating system.
- The App Store, Therefore, you can Work, Create, Play, Develop with App store that you are doing on iOS.
- Finder, allows you to make your pictures a short slideshow, or edit a short video.
- Other MacOS Mojave Enhancement
Download MacOS Mojave VMware and Virtualbox Image
- VMware & VirtualBox: Download macOS Mojave APFS by Techbland (one full) (Google Drive)
- VMware & VirtualBox:Download macOS Mojave (one full) Media Fire
- VMware & VirtualBox:
In the above, you will get the download link of MacOS Mojave for VMware and the download file is saved in Google Drive where it is secure and safe.
With this link, you can download and install MacOS Mojave on Virtualbox and this is the MacOS final image. one thing more that you can’t run the Vmware image on Virtualbox and Virtualbox image on Vmware, each Virtual Machine has its image file.
Read Next:
Download MacOS Mojave 10.14.3 APFS 18D109 (February 7, 2019)
- Vmware & VirtualBox: macOS Mojave 10.14.3 APFS (One Full – Google Drive):Download Now
- Vmware & VirtualBox: macOS Mojave 10.14.3 (One Full – MediaFire): Download Now
- Vmware & VirtualBox: macOS Mojave 10.14.3 (7 of 7 – MediaFire): Download Now
Install MacOS Mojave on VirtualBox on Windows 10?
Now that you have downloaded MacOS Mojave for Virtualbox then now you can install it on Virtualbox. well, the installation quite simple just click the link below and get to know how to install macOS Mojave on Virtualbox.
Install MacOS Mojave on VMware on Windows 10?
Well, the installation is quite easy and it is somehow the same with Virtualbox but might be there will be some extra step. so download the image file and open VMware pro or player and start installing the Mojave. for installation, at first, you will need to create a new Virtual Machine and after that install it on the created machine. it is the best way to test MacOS Mojave on Guest Virtual Machine because you can’t install it on your physical machine that’s why you will need to install it on a Virtual machine to test it.
In Conclusion
This is all about the MacOS Mojave image file, so download VMWare and Virtualbox image file and give it a try on each Virtual machine you like. the installation is so easy whether you are installing on VMware or Virtualbox but again if you get any kind of question and confusion then feel free to ask me in a comment.
In this article, we will examine how to build a new virtual machine for macOS operating system using Oracle VM VBox in Windows PC.
How to Configure macOS High Sierra VM in VirtualBox
The Oracle VM VirtualBox program is a free and constantly evolving program. You can run Apple MacOS operating system on Windows operating systems using VirtualBox.
Creating a new VM on VirtualBox is easy and simple. But when creating a Mac OS virtual machine with VirtualBox you may need to change some settings. In the previous article, we installed MacOS with VirtualBox.
In this article, we will examine how to create a macOS VM with Oracle VM VBox.
NOTE: You can create a new VM for macOS Mojave 10.14 on VBox by following the stages in this article.
How to Create and Configure Mac OS VM using Oracle VBox
Before you create a macOS VM with VBox, perform the VirtualBox installation and then follow the steps below in order.
Step 1
Open VirtualBox software and click the New button to create a new VM for MacOS.
Step 2
In the Create Virtual Machine window, type the name of the macOS system in Name section. Select the Mac OS X option in the Type section and the version of the Mac OS VM to be installed in the Version section and click the Next button.
Step 3
Configure a minimum of 4 GB RAM for the macOS High Sierra VM and click on the Next button.
Step 4
To create a new virtual hard disk for the macOS High Sierra VM, select Create a new virtual hard disk nowand click Next.
Step 5
Select VDI (VBox Disk Image) for macOS High Sierra VM hard disk file type and click Next button.
Step 6
Chrome cleanup tool is a very useful application for any device. This tool helps your Mac and windows device to be free from unwanted files and unwanted programs. By using this cleanup tool your device will work at full speed. This cleanup tool can be used to clean any browser like Firefox, edge, chrome and many more. Chrome cleaner free download - Google Chrome, Google Chrome dev, Adblock Plus for Chrome, and many more programs. Uninstall apps from your Mac and clean all their left-over files safely. Chrome software cleaner for mac download.
You can configure the macOS VM disk in 2 types.
Dynamically allocated: Quickly create a virtual hard disk and use as much space as needed on your hard disk. So when you install a program on the VM your disk will expand automatically.
Fixed Size: The VM will configure the hard disk size before installing, but this will take some time. For performance, you can configure a hard disk backup type of a VM as Fixed Size.
Select the desired option and click on the Next button.
Step 7
Storing the hard disk of the macOS VM in a different location is useful for performance. To change the HDD location of the VM, click on the symbol you see in the image below.
Step 8
Select your Portable Hard Disk and create a new folder for the VM and click the Open button on the folder.
Step 9
Click the Save button to save the virtual hard disk of the Mac OS High Sierra.
Step 10
You can configure the virtual hard disk size to 30 GB. Click the Create button to create a VM hard disk.
Step 11
Once the macOS High Sierra VM has been created, click the Right Button on it and select Settings from the window opened.
Step 12
In the macOS VM settings window, click System and then Motherboard. Remove the Floppy device in the Boot Order section.
Step 13
Adobe for mac students. For the macOS High Sierra VM, configure 2 processors on the Processor tab.
Step 14
After you click on the Display tab and then on the Screen tab, configure the Video Memory value to 128 MB.
Step 15
To add the ISO file to the macOS High Sierra VM, click Chose Virtual Optical Disk File.
Step 16
Select the macOS High Sierra ISOfile and click the Open button.
Step 17
Click the OK button to close the Mac OS VM settings window.
Step 18
Copy and paste the following commands into the text document before running the VM, and then click File to save the file with a different extension.
Write your VM name to the Your Virtual Machine Name section!
Step 19
Click Save As…
Step 20

Change the extension of the file to .cmd and click the Save button.
Step 21
Run the Code.cmd file as an administrator.
Step 22
The CMD command prompt will open and the commands will execute within a few seconds.
Step 23
Now you can run the macOS virtual machine and start the installation.
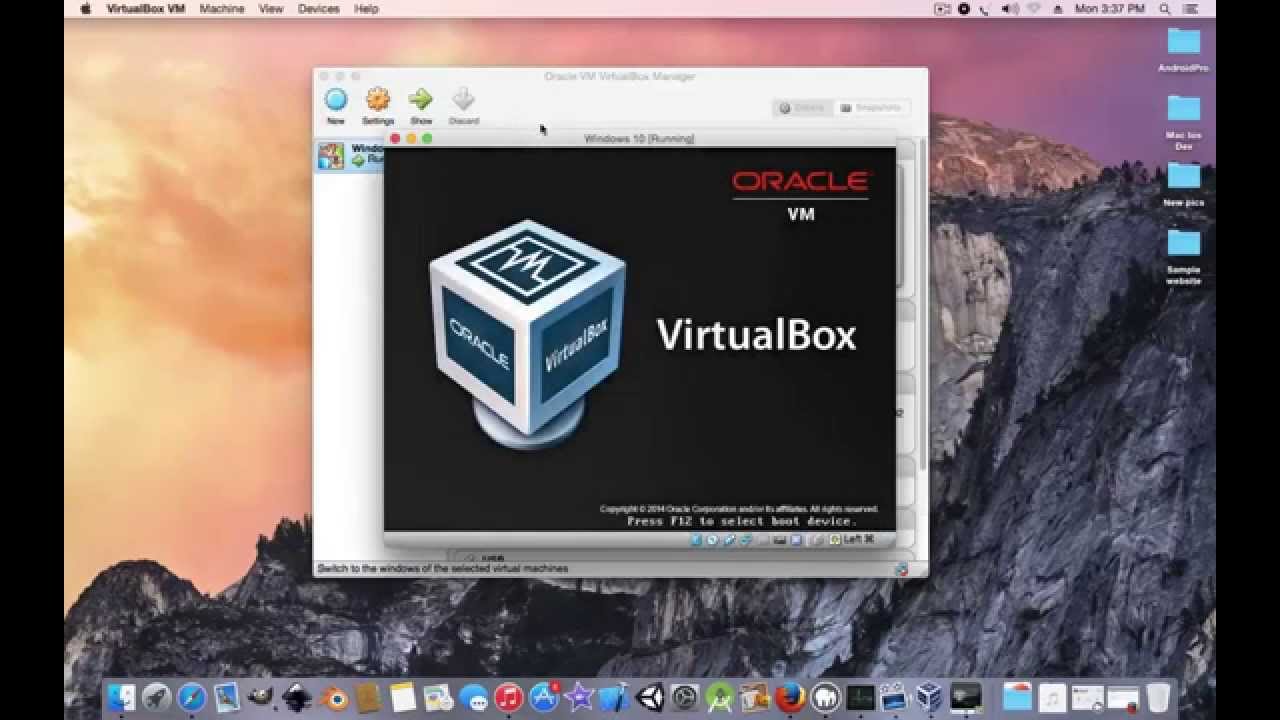
Step 24
You can see from the image below that the macOS VM has started successfully.
Final Word
In this article, we have reviewed the stages for setting up the macOS VM on Oracle VM VirtualBox on the Windows 10 operating system. In the next article, we will install Mac OS 10.13.5 with Oracle VM VBox. Thanks for following us!
Related Articles
♦ How to Install Mac OS Mojave 10.14 on a Mac
♦ How to Install Mac OS Mojave 10.14 on VMware
♦ Download macOS Mojave 10.14
♦ How to Install VMware Tools on Mac OS Mojave 10.14
♦ How to Install Mac OS High Sierra 10.13.5